- SOLARWATT Manager flex
- Connect devices
- Webasto Live
Webasto Live
This page describes the connection of a ready installed Webasto live to the Manager flex.
Installation and configuration
Number of compatible wallboxes per manager: 1
Interface: LAN
Requirements
- the Webasto Live is connected to the network before being switched on
- the Webasto RFID function is deactivated. RFID is not compatible with PV Optimization (Note: the RFID function is enabled at the factory)
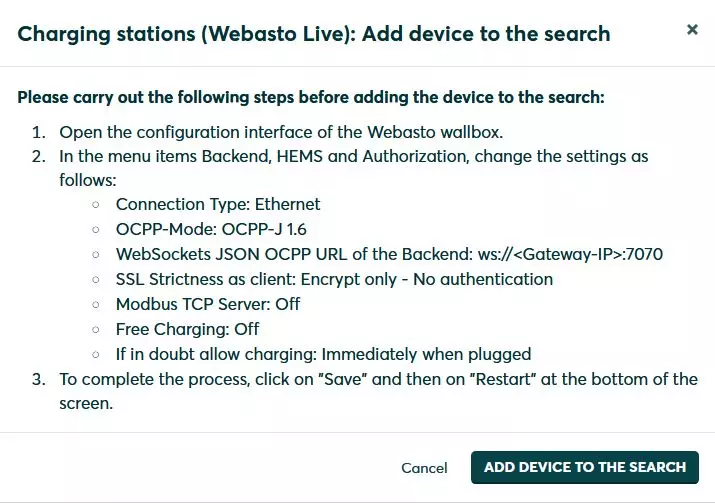
Configuration Webasto Live
- Backend menu: Connection type No backend
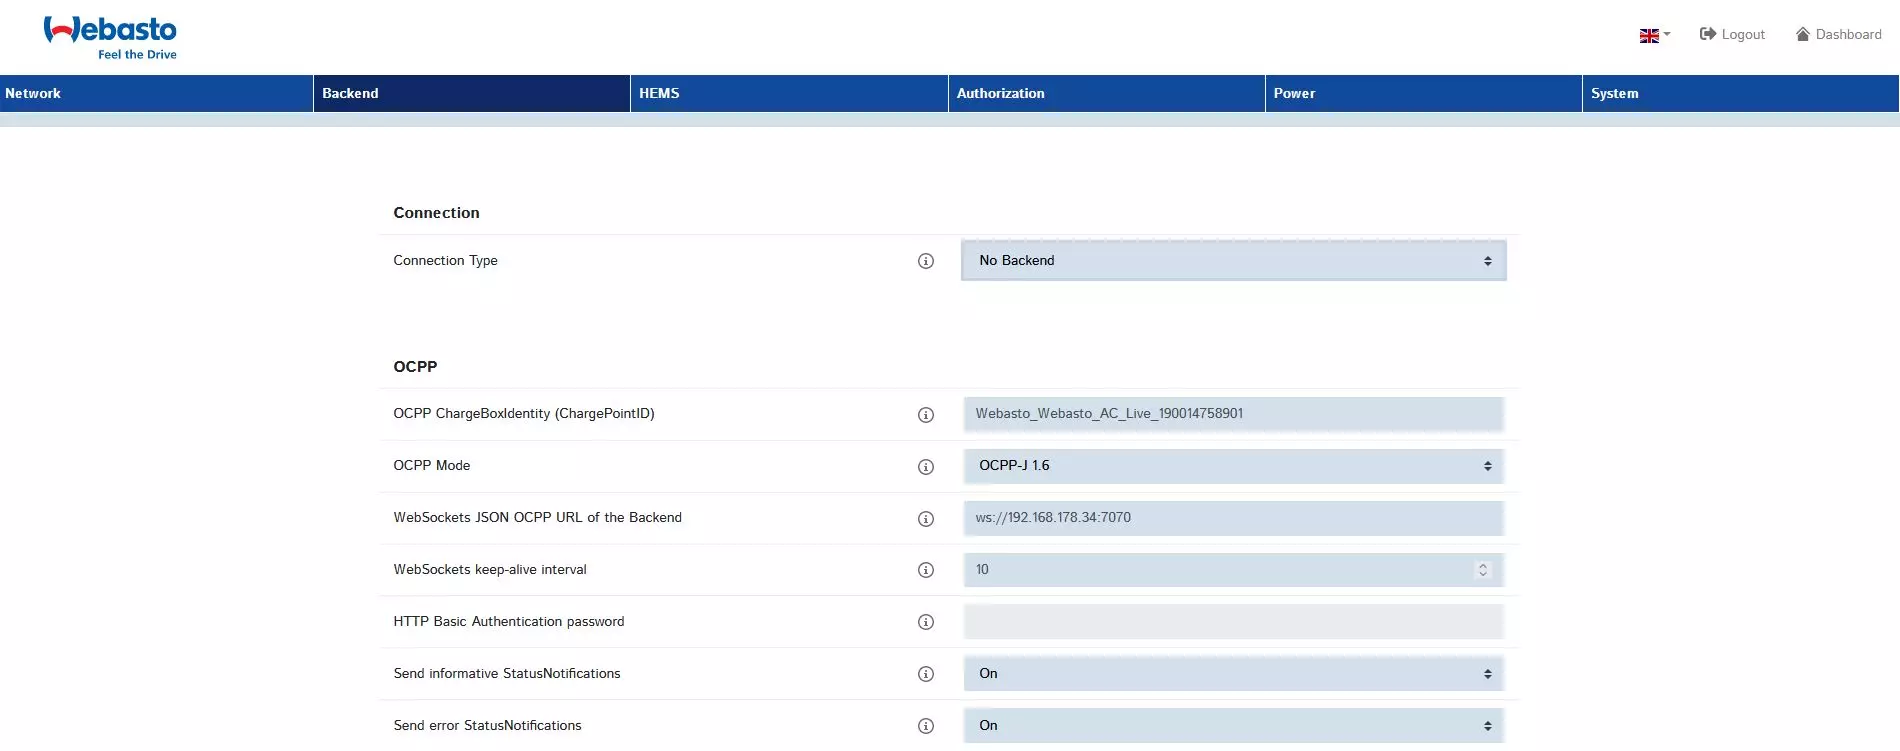
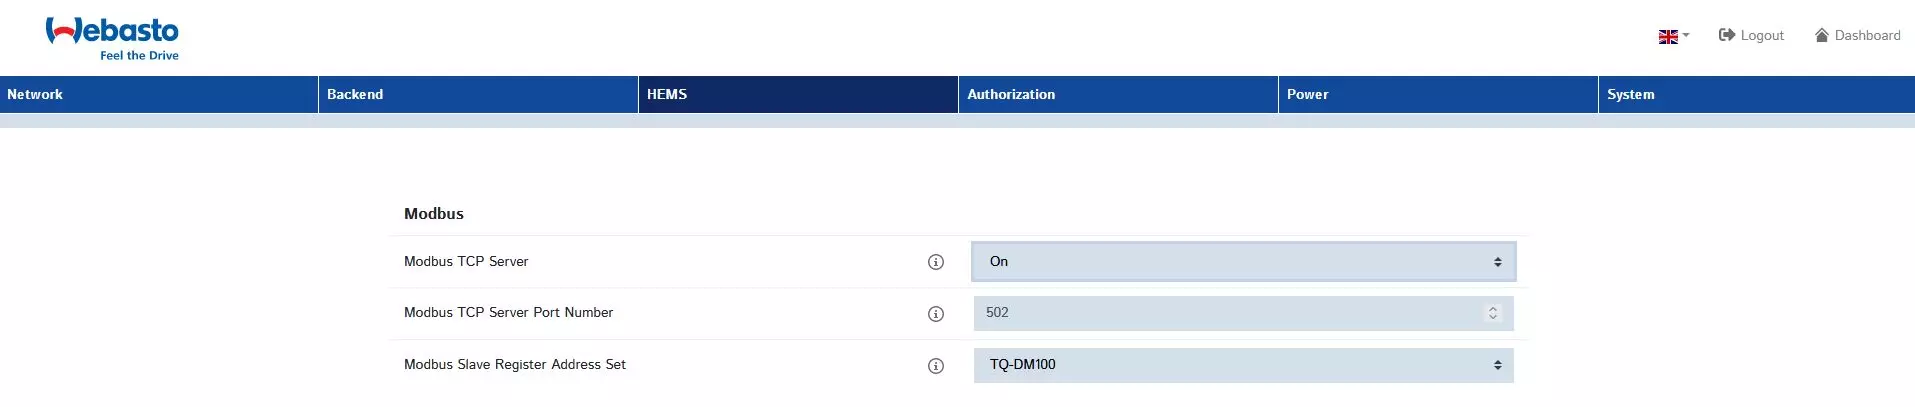
- Menu HEMS: Activate Modbus TCP Server, Port (Port number: 502), Register set (Register set: TQ-DM100)
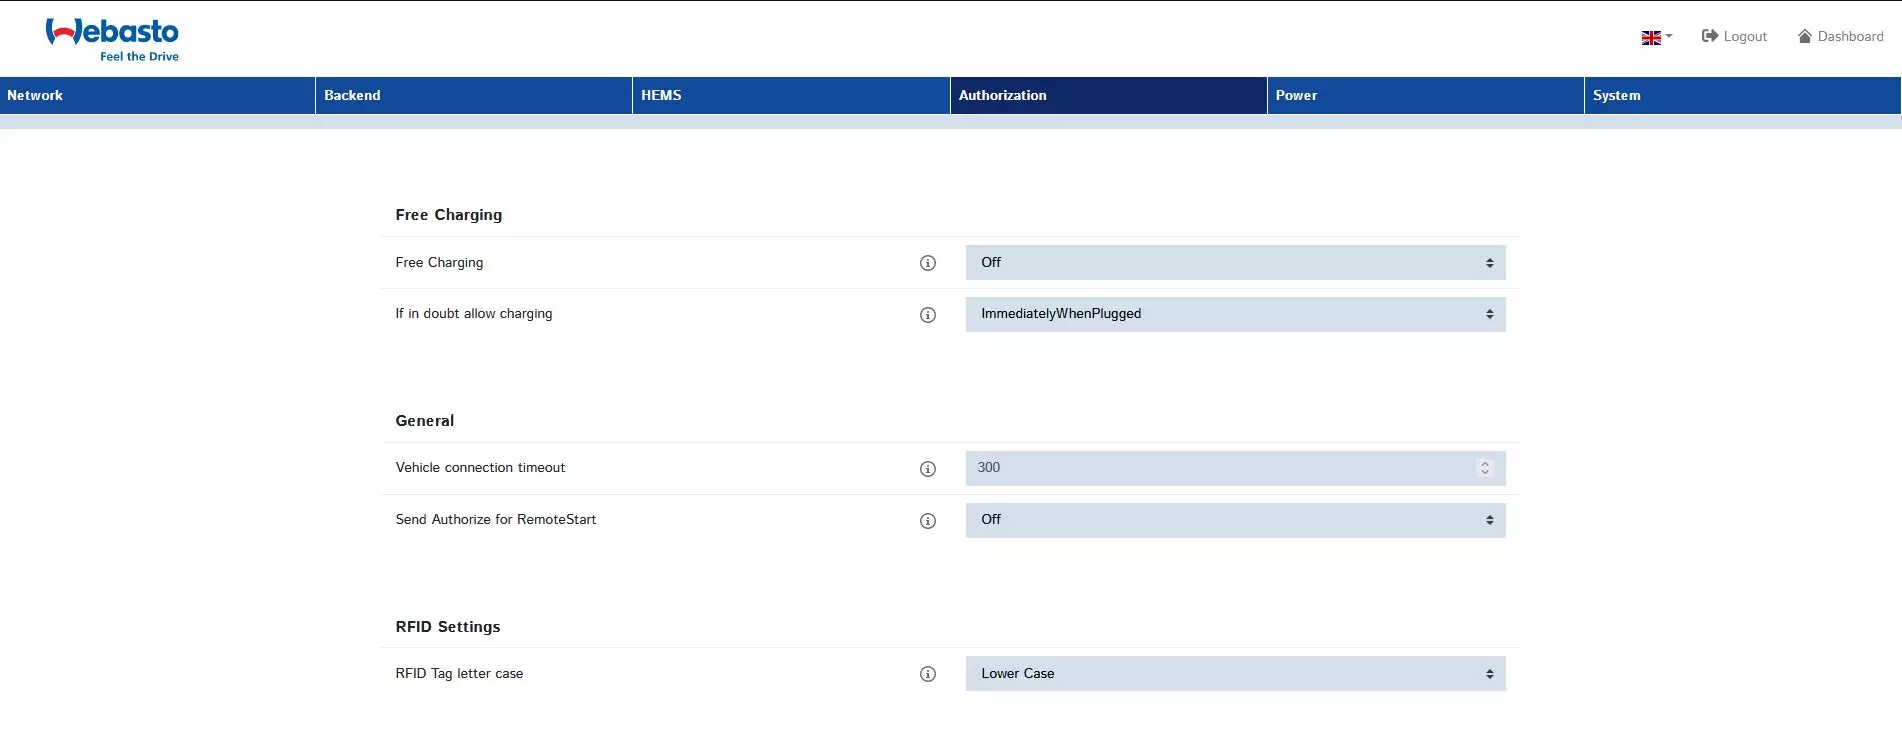
- Authorization menu: Free charging Off, Allow charging in case of doubt Immediately after plugging in
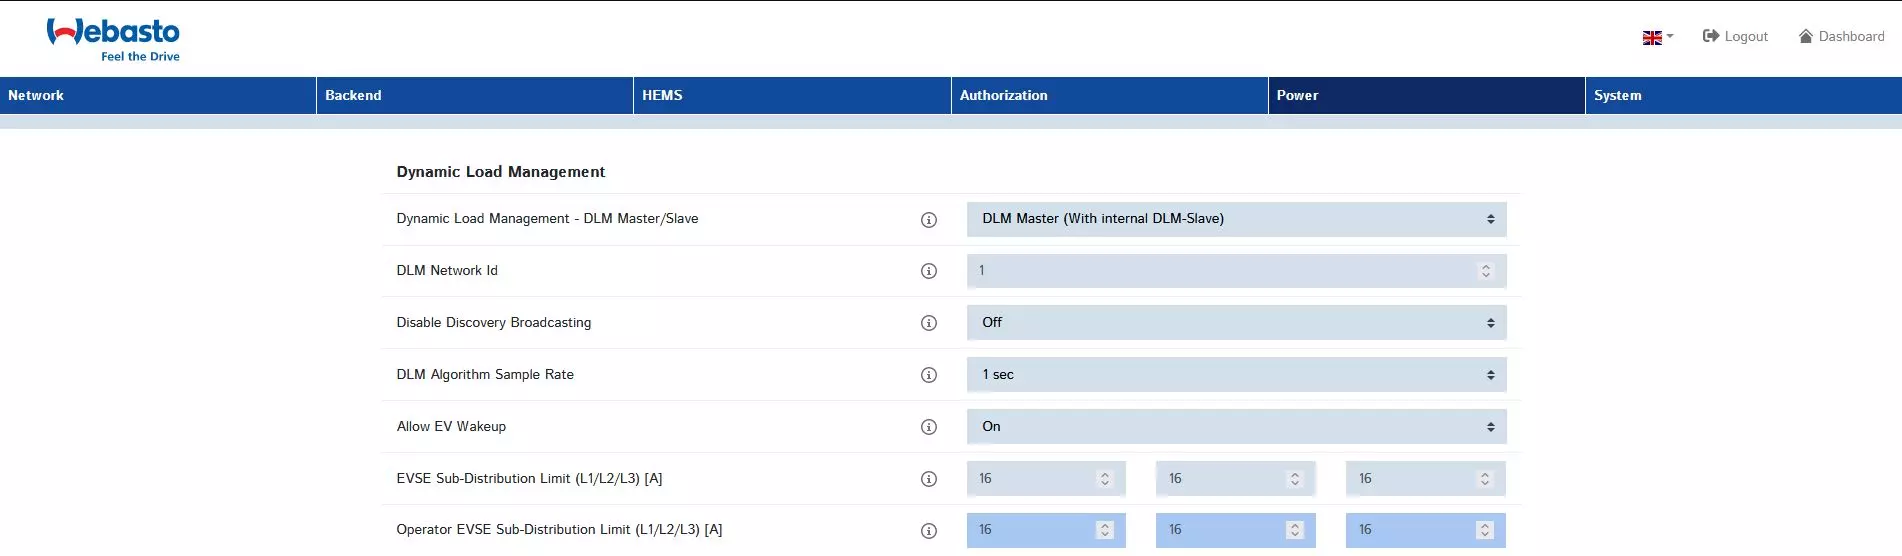
Power menu:
- Dynamic load management - DLM master/slave: DLM master (with internal DLM slave)
- DLM Network ID: 1
- Disable Discovery Broadcasting: Off
- DLM algorithm sampling rate: 1 sec
- Allow electric vehicle wake-up: On
Charger Subdistribution Current Limitation and Operator Subdistribution Current Limitation:
- the value for the current intensity at charging device subdistribution current limitation may correspond to the phase fuse of the wallbox connection at maximum
- the value for the current intensity for the operator subdistribution current limitation must not exceed the charging device subdistribution current limitation
- Restart the Webasto Live (if necessary by disconnecting it from the mains for approx. 1 minute).
Setup in SmartSetup
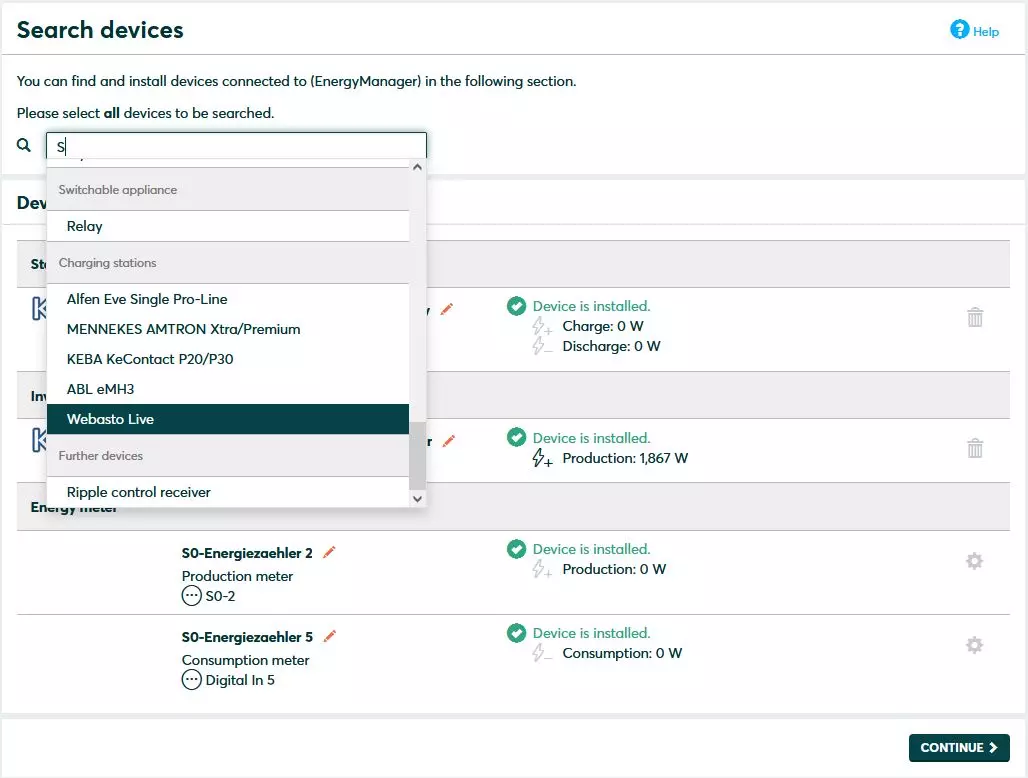
Search for devices
- Select Webasto Live Binding from the drop-down menu
- Enter the necessary data in the configuration menu.
Serial number: can be viewed on the Webasto user interface (System menu
)Host name or IP address: can be viewed on the router user interfacePhase system
: Webasto nameplate
- SelectAdd device to search
- Search for devices and selectinstall
- After successful installation, green Device is installed appears next to Webasto Live Binding in the device list.

Selected articles: