- SOLARWATT Manager flex
- Connect devices
- Shelly 3EM
Shelly 3EM
The following page describes the installation, configuration as well as the setup of the Shelly 3EM as the main meter in the Smart Setup.
Installation and configuration
Interface: WLAN
Installation and integration into the local network
- Establish and check the absence of voltage.
- Install the Shelly3EM on the top-hat rail in the meter cabinet.
IMPORTANT!
Fuse the voltage path to the Shelly 3EM separately.
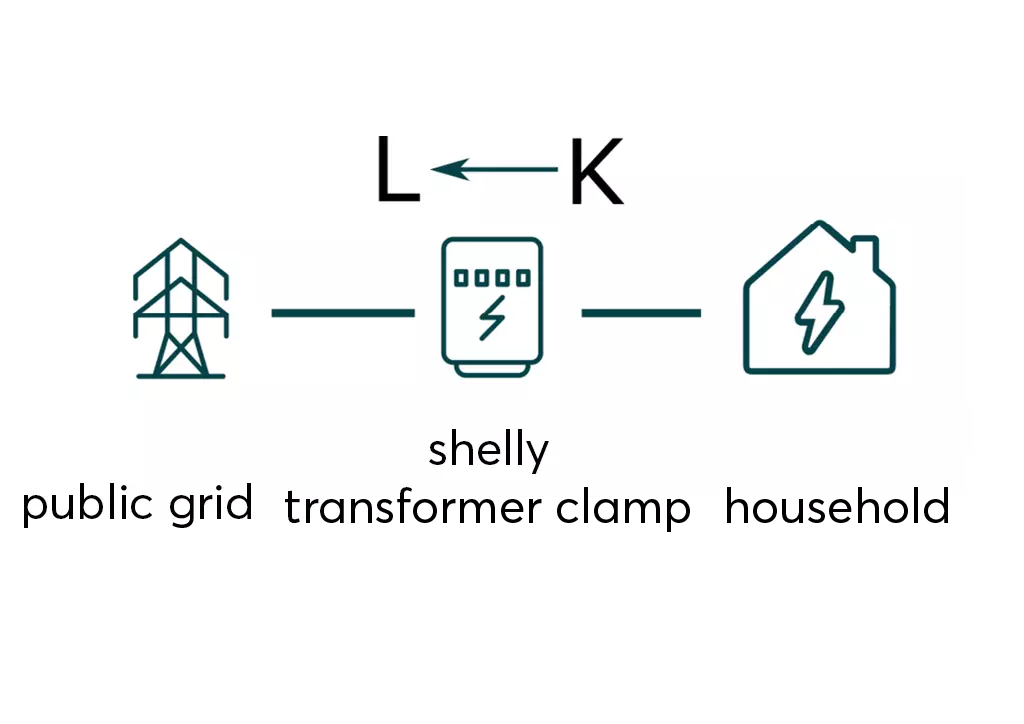
Pay attention to the correct installation position for the terminal transformers:
The installation arrow points from the house consumption (K) in the direction of the energy network (L
).
- Restore the power supply.
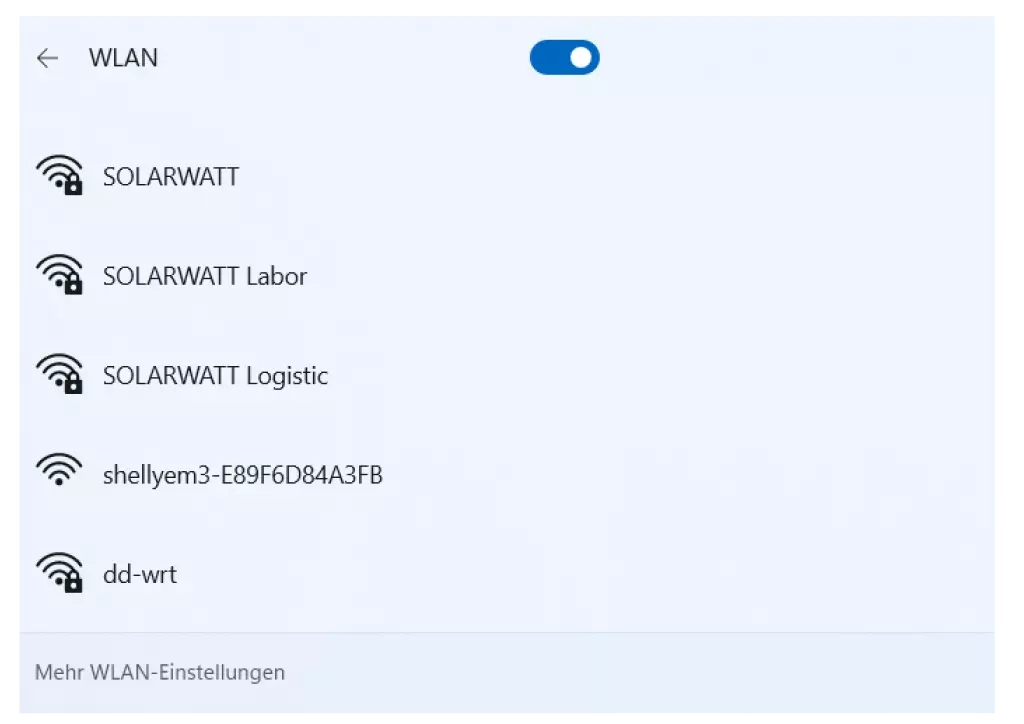
- The Shelly 3EM generates its own WLAN network (shellyem3-xxxx), connect to this network.
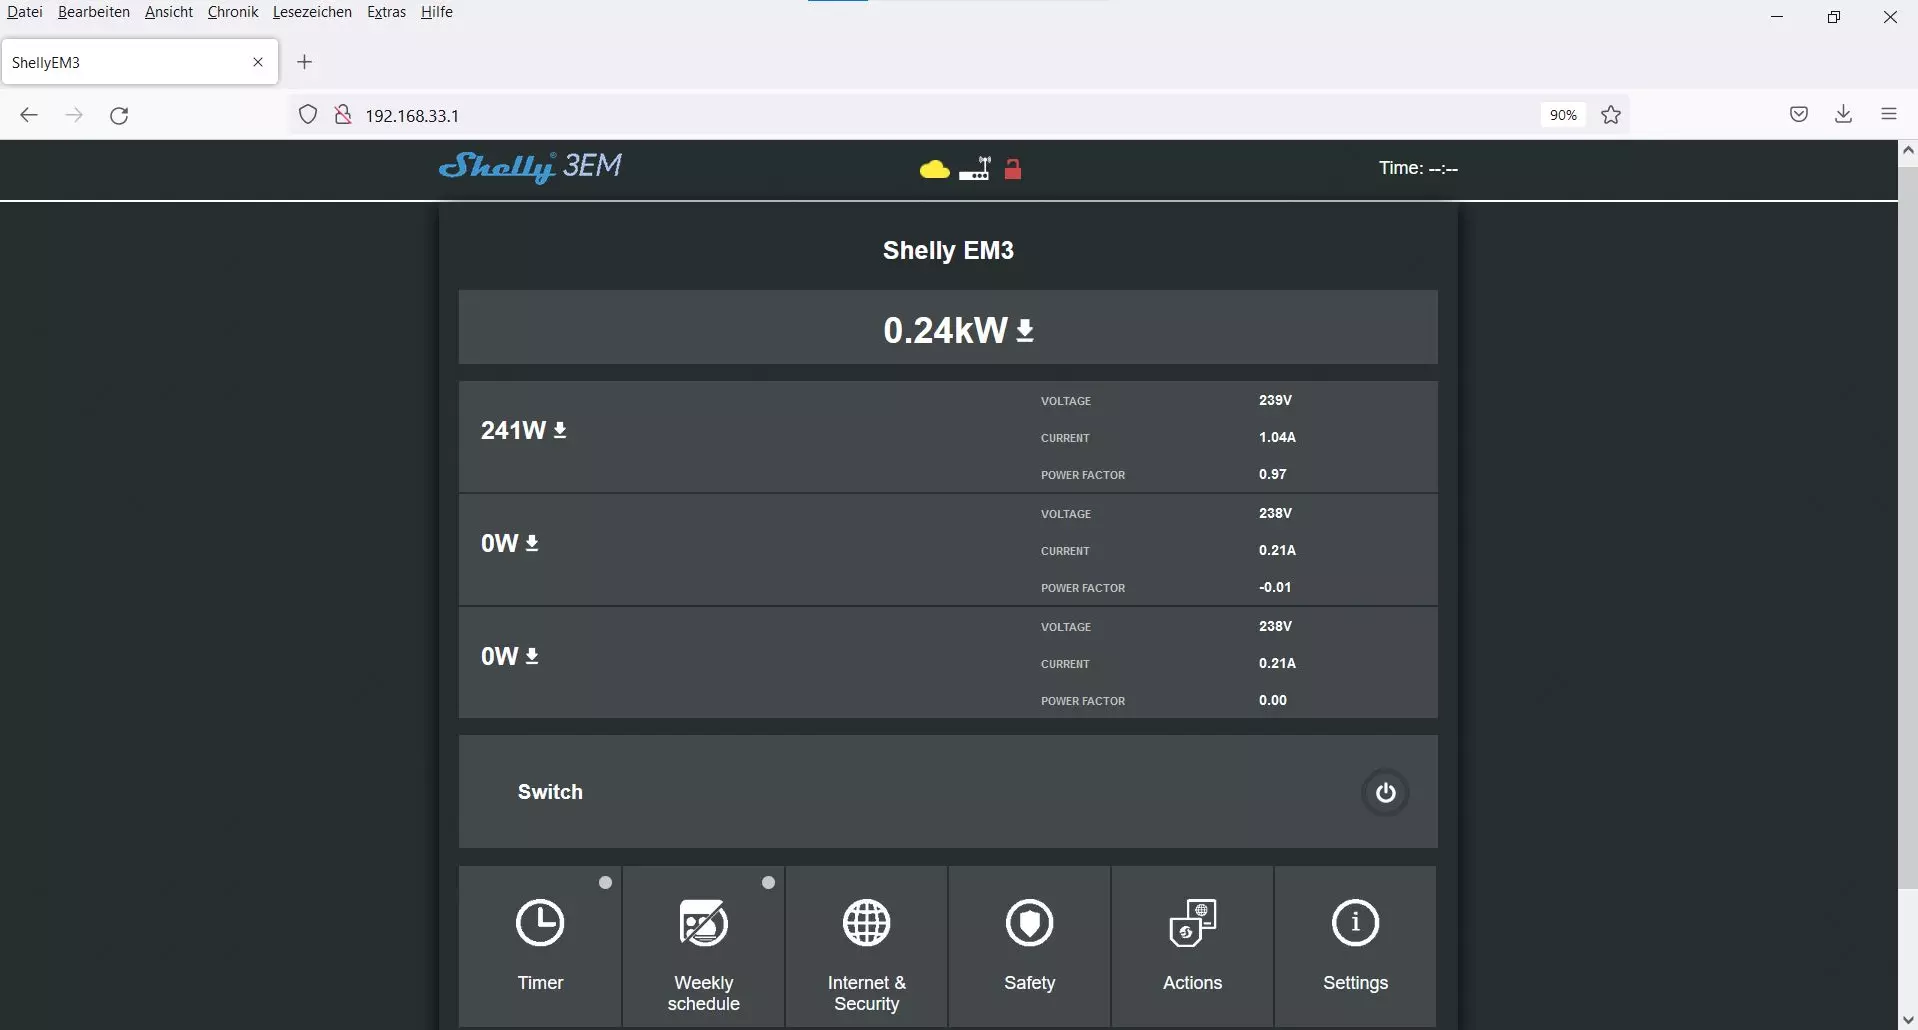
- Call up the user interface of the Shelly 3EM in your browser (IP address: 192.168.33.1). Tip: To check whether terminal transformers are connected in the correct installation direction, connect individual consumers, a positive value must be displayed.
- the name of the WLAN generated by the Shelly 3EM corresponds to the host name of the device and can be viewed under Internet&Security > WiFi mode - Access Point

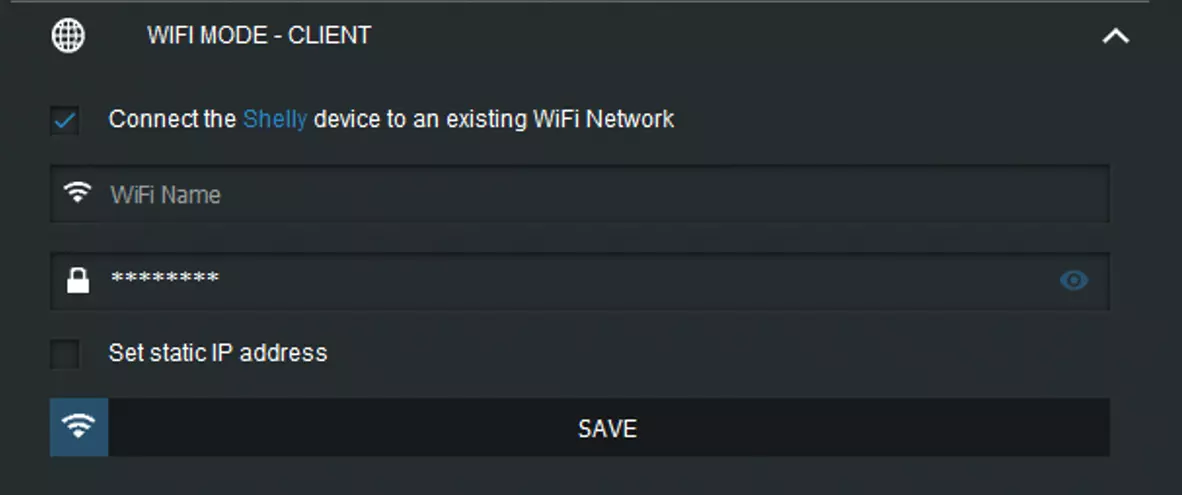
- Activate the connection to an existing WLAN network in the Internet&Security > WiFi mode - Client menu. Enter the name and password of the local network.
- The Shelly is then assigned a new IP address. For the possible assignment of a static IP address, activate the corresponding check mark and assign the IP address (you can view already assigned IP addresses in the user interface of the router).
- After successful activation and integration into the local network, the Shelly meter is accessible under the new IP address.

- Enable the visibility to other devices in the Settings > Device Discoverable menu.

Setup in SmartSetup
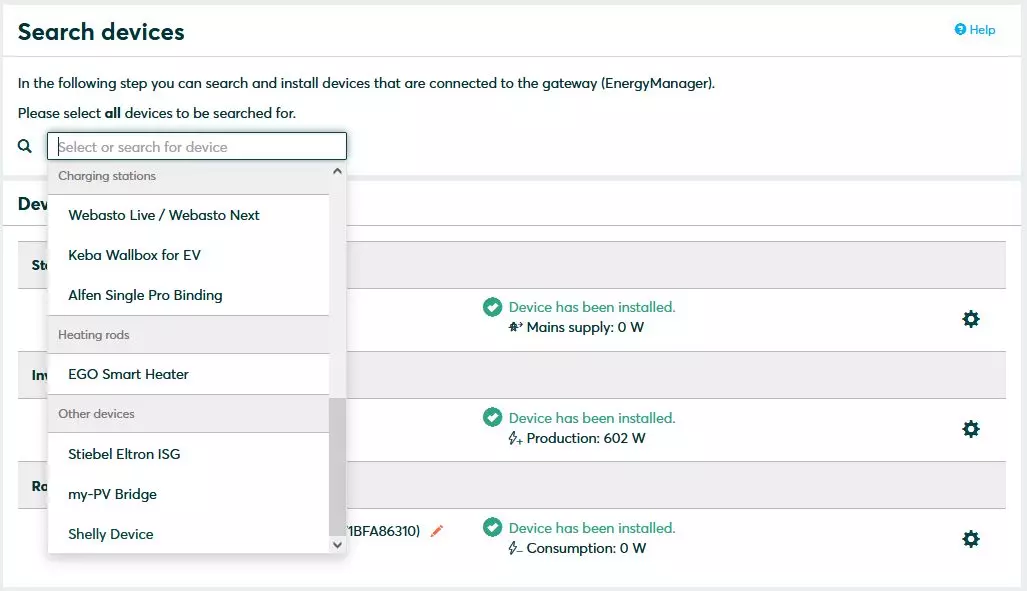
Search devices
- Enter Shelly in the search field for manual search (category More devices; Shelly Bridge).
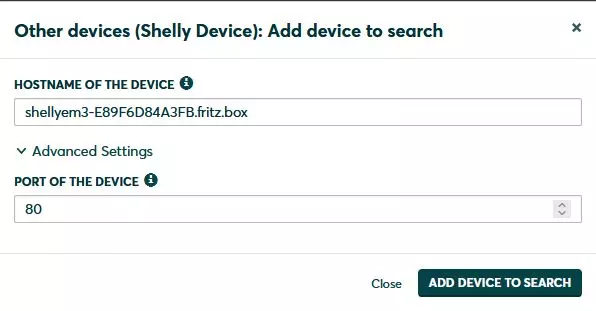
Enter the complete host name of the Shelly. You can find the host name in the Shelly user interface or alternatively in the router user interface or using an IP scanner (note: a network scan requires the prior consent of your customer). Confirm Add device to search
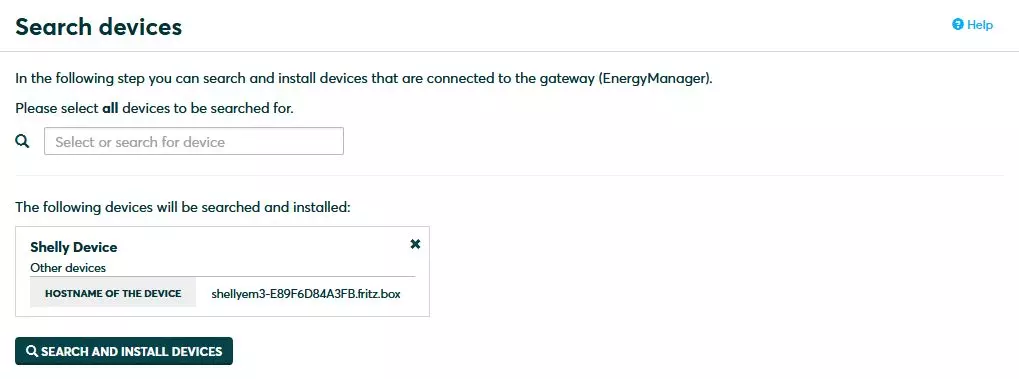
- Add the Shelly meter to the setup by confirming the Find and install devices button.
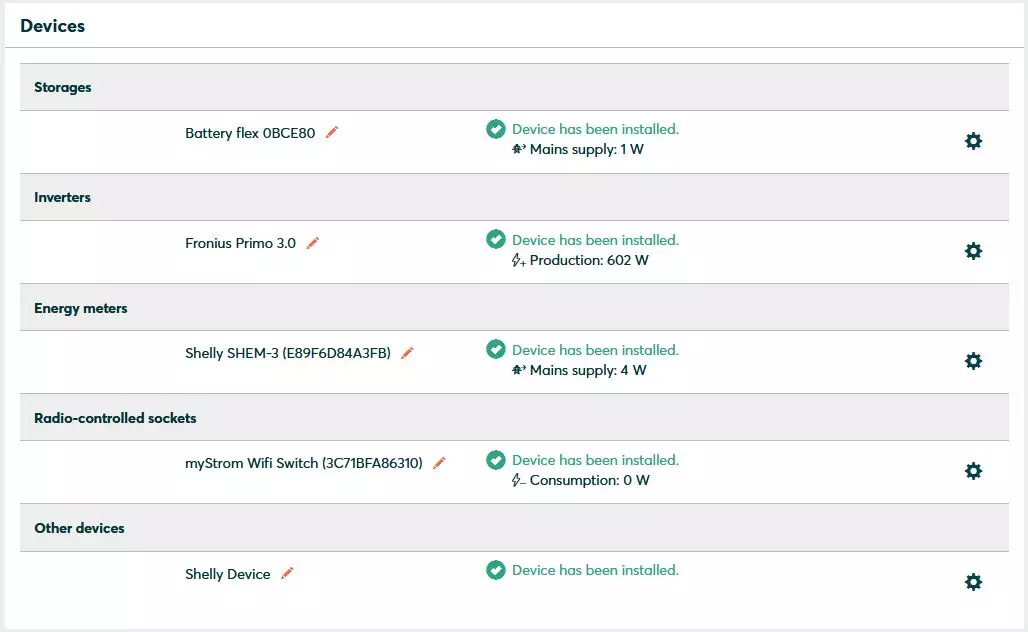
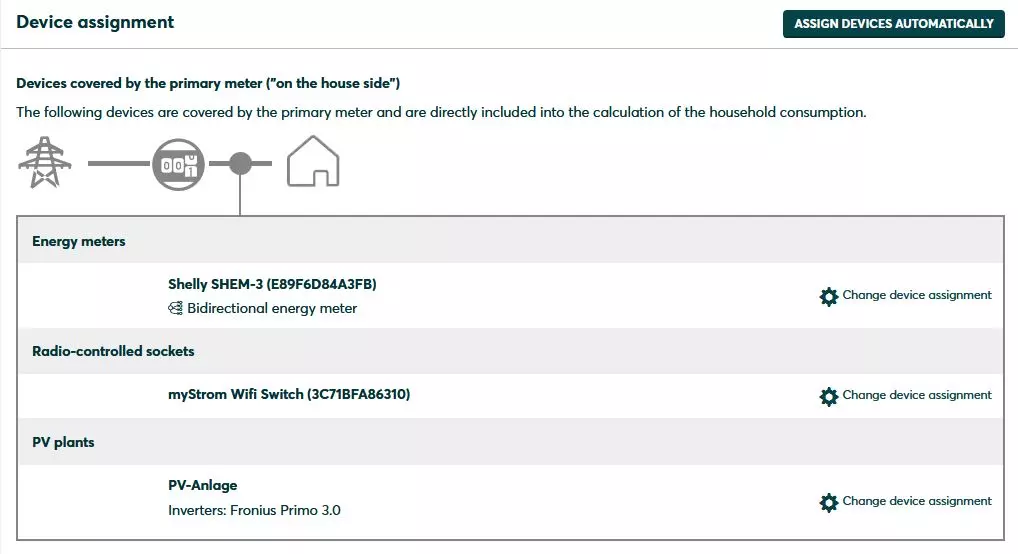
- after successful installation, the Shelly Meter appears under Energy Meter and the Shelly Bridge appears under Other Devices
Home consumption
- Configure the Shelly as the main meter by selecting the Shelly meter as a bidirectional meter under House Consumption
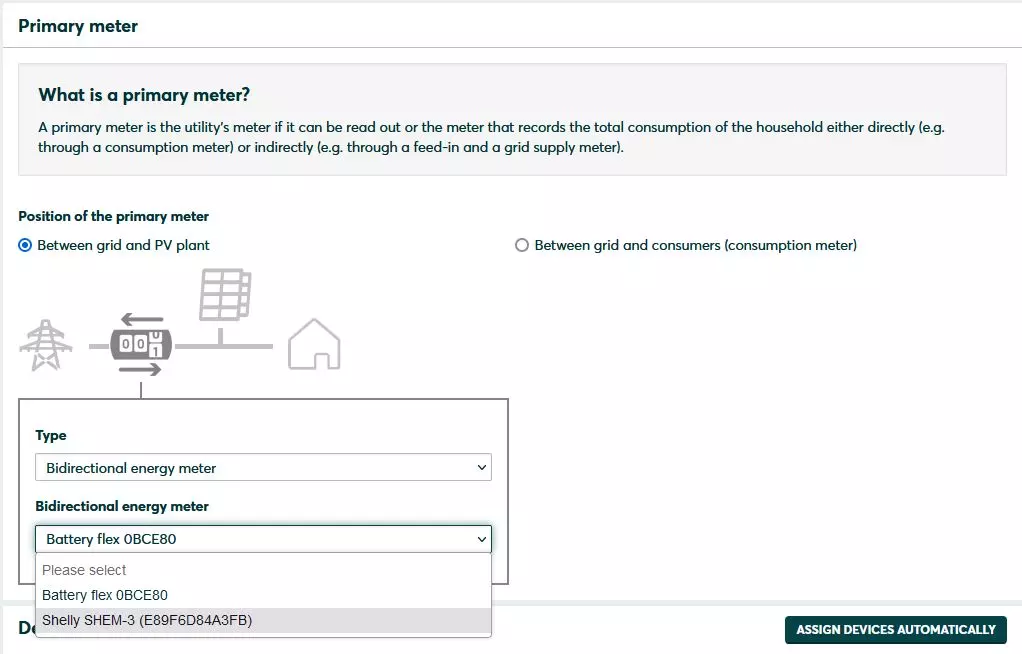
- If an installed AC sensor is to act as the main meter, then classify the Shelly meter as an energy meter read on the house side
Selected articles: